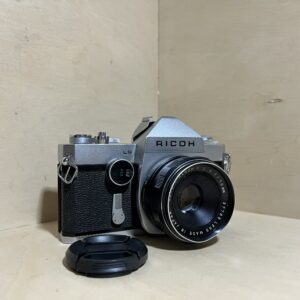
Manual scanned and put online free of charge by Mike Butkus, whose library runs on donations. The link opens his model page, where you can download the PDF.
Getting started
First of all The manual mentions no battery: the light meter uses a selenium cell, placed above the lens. Check that the shutter button hasn’t been left turned and locked for an extended exposure, otherwise winding on will seem broken.
Loading Open the back by lifting the latch, slide the end of the film under the blade of the take-up spool and engage the perforations, with the film lying flat between the guide rails. Pull up the rewind knob to put the cartridge in, let it go and lock it by turning it in the direction of the arrow. Close the back, wind on and fire three times, checking that the rewind knob turns, then set the counter to “0”, with the shutter cocked.
Sensitivity Turn the calculator’s aperture scale, the dial around the rewind knob, until the index in its window is opposite your film speed. The scale runs from ISO 16 to 500 (ASA) and from 13 to 28 DIN. At 32, the left-hand dot stands for 25 and the right-hand one for 32.
Your first photo Aim at the subject without covering the cell and turn the calculator’s exposure time scale until the meter needle is centred in the hole of the calculator needle, then read off a shutter speed and aperture pair. Transfer the speed to the shutter speed dial (lift it, turn, lower it again) and the aperture to the lens. Focus at full aperture on the ground glass, stop down to the chosen aperture and release the shutter.
Rewinding At 36 exposures, press the rewind knob and turn it against the direction of the arrow to release it. Keep the rewind button pressed and turn the knob in the direction of the arrow until you feel it get easier: the film has left the take-up spool. Open the back, pull the knob up and take out the cartridge.
What it can do
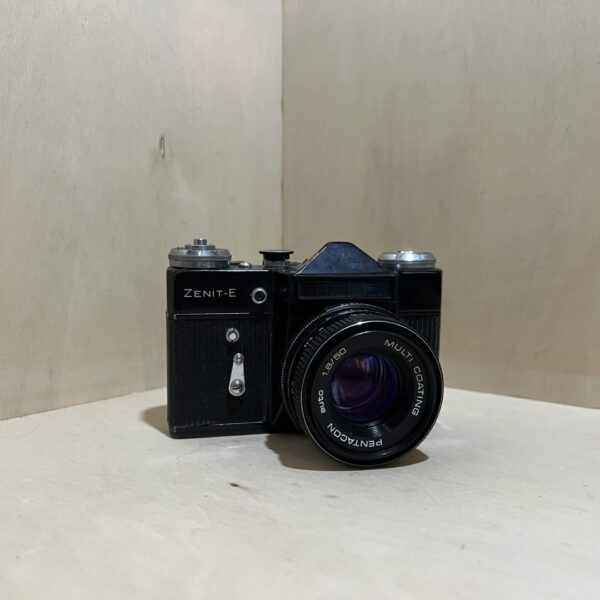
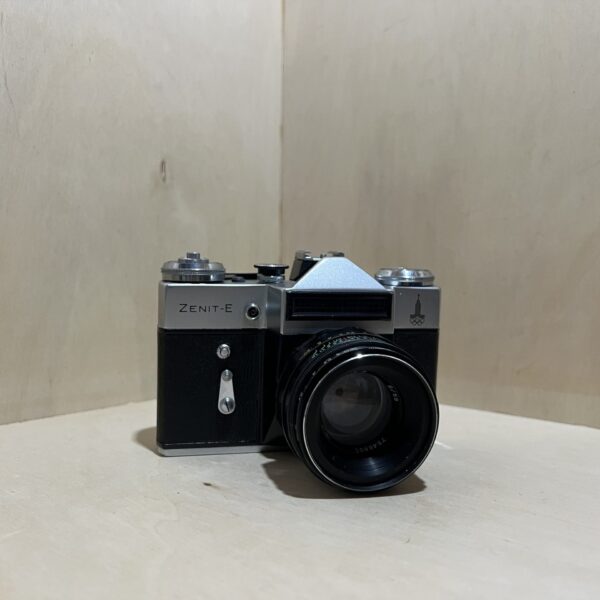
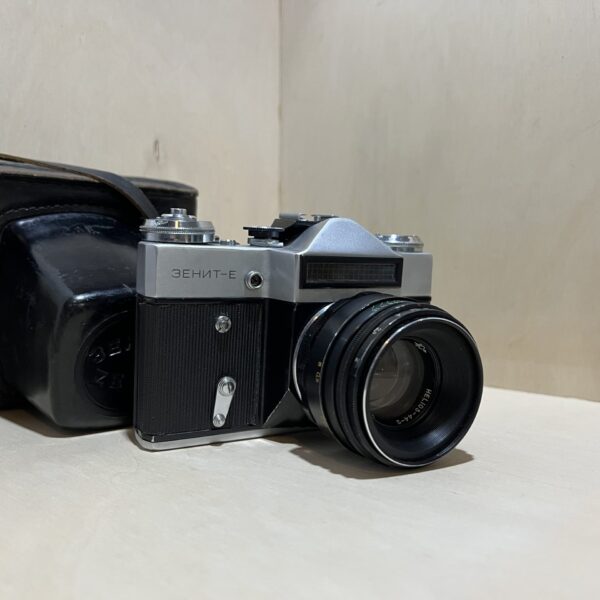
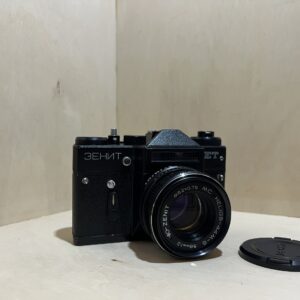
A 35 mm SLR with an instant-return mirror: you see the subject all the time, except during the exposure.
A focal-plane shutter from 1/30 s to 1/500 s, plus Bulb and an extended exposure: wind on, set the dial to “B”, press the shutter button and turn it anticlockwise as far as it goes, then return it to its place after the exposure.
A built-in light meter, but not coupled to the aperture: its calculator gives the shutter speed and aperture pairs, from 1/500 s to 30 s.
A self-timer: cock the shutter, push the self-timer lever all the way down and press its button, the shutter fires about 9 s later.
Good to know
Don’t turn the shutter speed dial between “B” and “500”. The speed can be set whether the shutter is cocked or not.
Always wind on fully to avoid a blank frame, and don’t turn the shutter button needlessly when you take the picture.
Don’t expose the cell to direct sunlight: the manual says it shortens its life.
Use a tripod for Bulb and extended exposures.
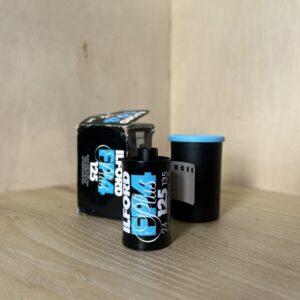
The English manual advises against Fuji 35 mm cartridges, which could jam and tear the film.
Which lenses?
The mount is an M42 × 1 thread, with a 45.5 mm flange distance. The manual lists Zenit lenses from 37 to 1000 mm.
It describes two standard lenses: Helios-44-2 58 mm f/2 and Industar-50-2 50 mm f/3.5.
It also mentions the Mir-1 37 mm f/2.8, Helios-40 85 mm f/1.5, Jupiter-9 85 mm f/2, the 133 mm Jupiter-11 and Tair-11, Jupiter-6 180 mm f/2.8, Tair-3 300 mm f/4.5 and the MTO-500 and MTO-1000.
With the Tair-3, the left edge of the negative may be slightly cut off. With the MTO-500 and MTO-1000, the mount covers the cell: the light meter can no longer be used.
Extension rings, placed between the body and the lens, allow copy work and macro photography.
The flash
Set the sync lever to “X” for an electronic flash, to “M” for a flashbulb unit. It plugs into the flash socket, with an accessory shoe to hold it.
With a flash, the only possible speed is 1/30 s. The manual advises against Bulb, which lets in too much light after the flash.
With a bulb flash, cock the shutter before putting a new bulb in the connected flash.
E specifications
Format
135 film in cartridges, 36 frames of 24 × 36 mm
Mount
M42 × 1 thread, 45.5 mm flange distance
Shutter
focal-plane, from 1/30 s to 1/500 s, Bulb and extended exposure
Pay by card, Klarna or Google Pay. Your bank details never pass through us.
Free delivery from €150 in mainland France
Elsewhere, the exact rate is shown before you pay.
Tracked parcels, padded by hand
Tracking number by email, oversized packaging: a camera body doesn’t travel like a book.
Tested second-hand
Mechanics, optics, electronics: every item goes through our testing method before it goes online.
A word about cookies
Those for the basket and payment are essential. The others wait for your consent: audience measurement, advertising, visit tracking for our emails. You can withdraw it whenever you like. Details here.